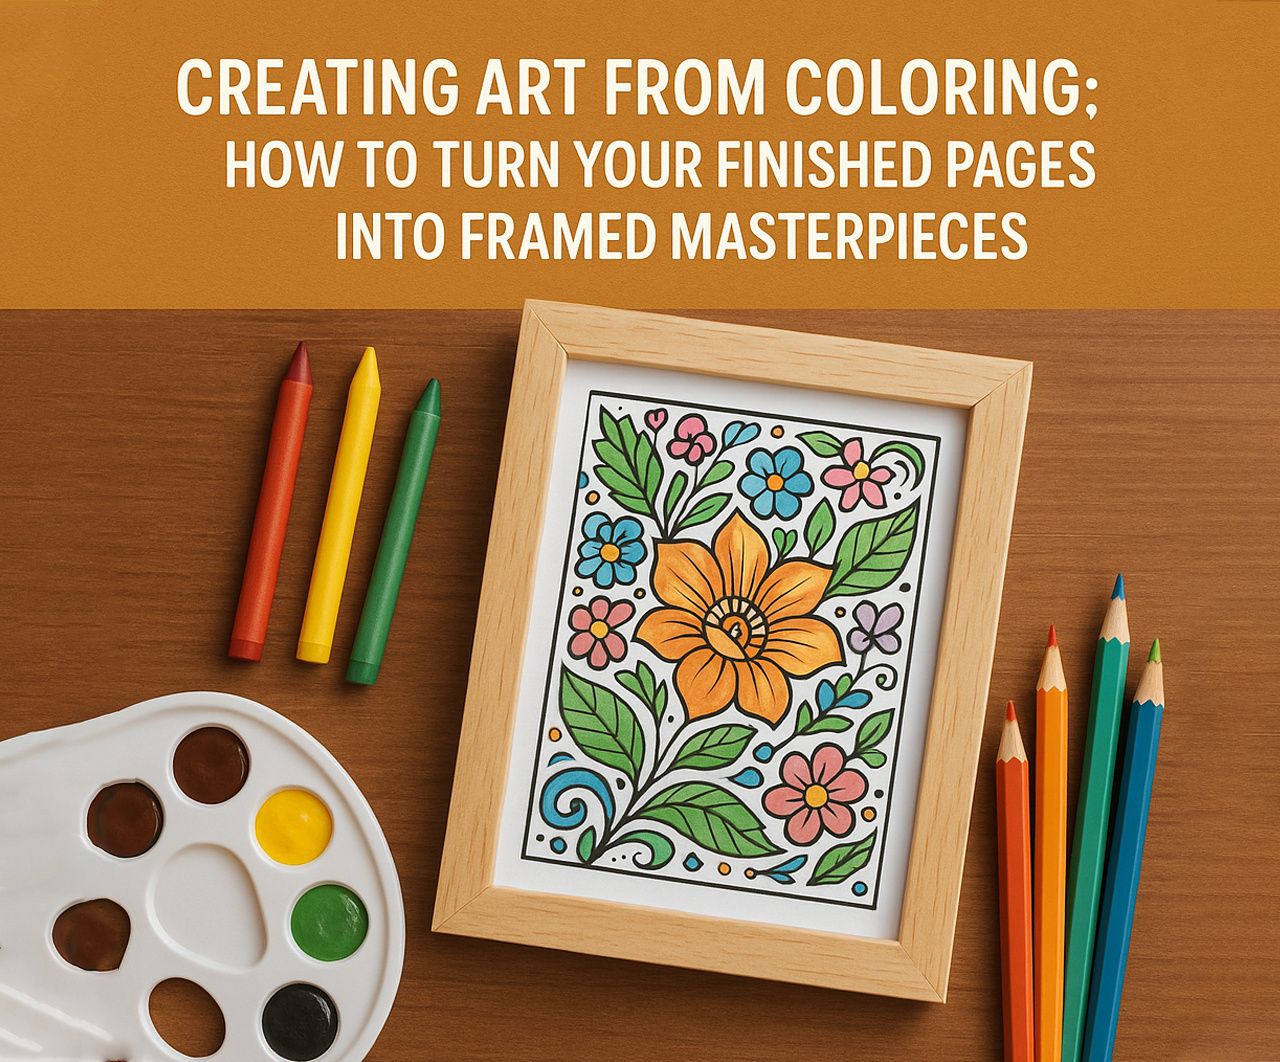
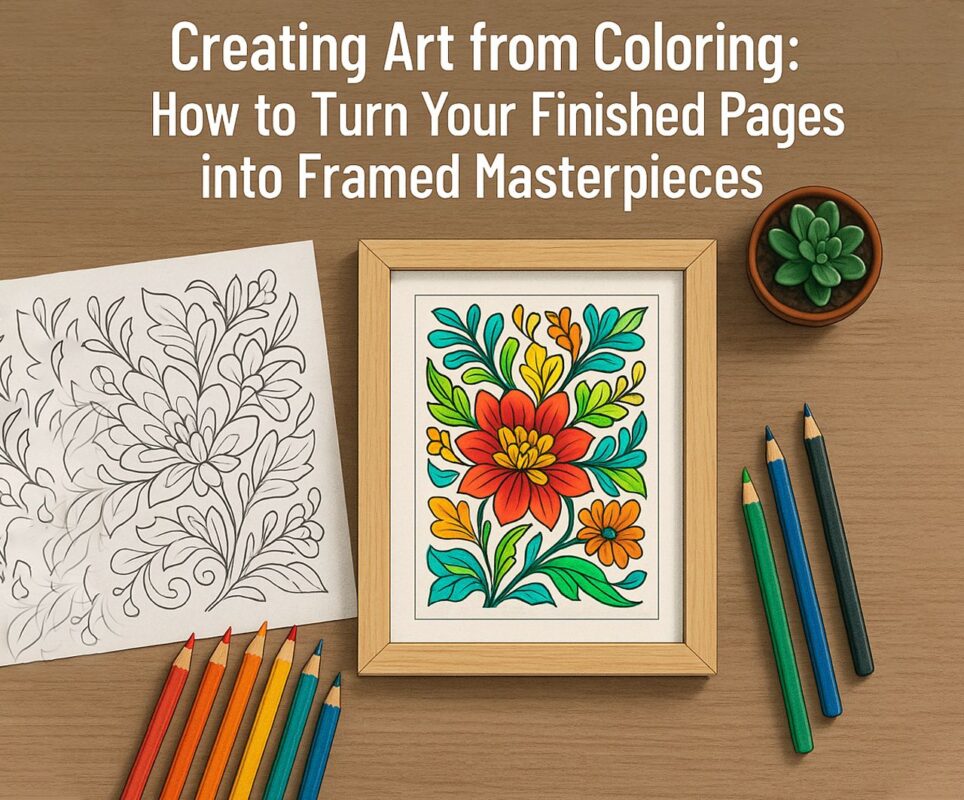
Coloring is no longer just for kids—it has evolved into a therapeutic and creative activity for all ages. With the rise of custom coloring book pages, artists and hobbyists alike are finding new ways to elevate their coloring skills. Whether you enjoy working on personalized Easter coloring books or prefer to make custom coloring books for yourself or others, there’s an opportunity to transform your finished pages into stunning works of art from coloring. If you’ve ever wondered how to take a simple coloring page and turn it into a framed masterpiece, this guide will show you the way. Know more..
The Art of Coloring: From Hobby to Home Decor
Coloring pages aren’t just for keeping in a book or stashing away in a drawer. With the right techniques and a touch of creativity, you can make them worthy of display. The key is to enhance your pages with artistic techniques and presentation methods that elevate them from fun projects to sophisticated decor.
Step 1: Choose the Right Coloring Materials
Before you even begin coloring, the materials you select will impact the final look of your artwork. Here are a few techniques to consider:
- Markers and Gel Pens – These add bold colors and sharp contrasts that make details pop.
- Watercolors – Great for soft, blended backgrounds and an artistic touch.
- Colored Pencils – Perfect for shading and creating a rich texture.
- Pastels – Add a dreamy, blended effect that mimics traditional painting.
- Acrylic Paints – Useful for adding accents or painting over larger sections to create a mixed-media effect.
To ensure your coloring pages have a professional finish, use high-quality paper or print custom coloring book pages on thick, archival-grade paper.
Step 2: Enhance Your Artwork
A flat coloring page is beautiful, but adding depth and texture can make it gallery-worthy. Here’s how:
- Blending and Layering – Instead of simple, one-color fills, use layering techniques to add depth.
- Shading and Highlighting – Apply light and dark shading to create dimension.
- Adding Metallics or Glitter – A bit of shimmer can make your artwork stand out.
- Ink Outlining – Tracing over the lines with fine-tip black ink enhances contrast and sharpness.
- Embossing Techniques – Use a heat gun and embossing powder to create a raised, glossy effect.
- Tearing and Collaging – Create unique textures by layering different sections of colored pages for a handmade artistic look.
Step 3: Selecting the Perfect Frame
A proper frame turns your colored page into a true piece of art. Consider the following options:
- Classic Wooden Frames – Perfect for traditional and elegant decor.
- Modern Acrylic or Metal Frames – Ideal for contemporary and minimalist aesthetics.
- Shadow Boxes – Great for multi-dimensional artwork and layered pages.
- Floating Frames – Give the illusion that your artwork is suspended in mid-air, offering a sleek, modern look.
- Upcycled Frames – Revamp an old frame with spray paint or distressing techniques for a vintage feel.
For those working on personalized Easter coloring books, try pastel-colored frames that complement spring themes.
Step 4: Choosing a Mat for a Professional Touch
Mats are the border inserts between the art and the frame. They add a sophisticated gallery-like finish. You can:
- Match the mat color with a dominant hue in your artwork.
- Use a neutral mat for a subtle, elegant appearance.
- Opt for double mats for extra depth and contrast.
- Experiment with patterned mats to add character.
- Use fabric-covered mats for a soft, textured effect.
Step 5: Adding Extra Artistic Elements
To take your framed artwork to the next level, consider:
- Hand-lettering quotes or names to make it even more personalized.
- Collaging multiple pages together to create a larger composition.
- Layering cutouts from different pages to create a 3D effect.
- Using mixed media like acrylic paint for a unique twist.
- Adding pressed flowers or decorative elements inside the frame for a whimsical touch.
- Applying resin coatings to create a glass-like, high-shine effect on your artwork.
These methods are especially great if you make custom coloring books and want to create a unique, themed gallery wall.
Step 6: Displaying Your Masterpieces
Now that your coloring pages are beautifully framed, here’s how to incorporate them into your home decor:
- Create a Gallery Wall – Arrange multiple framed pieces in a cluster for a dramatic effect.
- Feature One Statement Piece – A large framed page can become the focal point of a room.
- Use a Rotating Display – Swap out different coloring pages to reflect seasonal changes.
- Decorate a Child’s Room – Frame your child’s finished pages for a personal and meaningful touch.
- Gift Your Artwork – A framed page from personalized Easter coloring books can be a heartfelt present.
- Add to an Office Space – Elevate your workspace by incorporating framed coloring pages with inspirational designs.
- Place on Bookshelves – Display framed mini coloring pages alongside books and decorative items.
Step 7: Protecting Your Artwork
To keep your artwork looking fresh, consider:
- UV-Protective Glass – Prevents colors from fading over time.
- Laminating Before Framing – Adds extra durability.
- Avoiding Direct Sunlight – Prevents damage and discoloration.
- Using a Fixative Spray – Helps secure pigments, especially for pastels and colored pencils.
- Sealing with Mod Podge or Clear Varnish – Adds longevity to the artwork and protects against smudging.
- Using Archival Spray for Prints – If you scan and print your work, a protective spray keeps colors from dulling over time.
Bonus: Digitizing and Selling Your Artwork
If you love transforming coloring pages into art, why not turn it into a side business? You can:
- Scan and Digitize your completed artwork to create prints.
- Sell on Etsy or Print-on-Demand Websites as unique wall art.
- Create a Portfolio and build a brand around your custom-colored designs.
- Make Greeting Cards using scanned sections of your artwork.
- Offer Custom Orders for people who want specific colors or themes.
Conclusion: From Simple Pages to Stunning Art
Turning a coloring page into a framed masterpiece is a rewarding process that brings creativity and personalization to your space. Whether you love custom coloring book pages, enjoy working on personalized Easter coloring books, or want to make custom coloring books for others, there are endless ways to elevate your artwork. With the right materials, framing techniques, and a bit of imagination, you can transform your finished coloring pages into stunning, display-worthy pieces that add charm and personality to any home.
By following these steps, you’ll not only enjoy the relaxing benefits of coloring but also create tangible pieces of art that can be cherished for years to come. Let your creativity shine and turn those pages into something extraordinary!


